We were planning a family trip to Newfoundland – something laid-back, with road trips, seafood, and maybe a hike or two. But then in the middle of the planning spiral, I found the Long Range Traverse.
An unmarked backcountry route. Boat access only. No signage, no people. Just mountains, moose, and a mandatory GPS. Obviously, I had to do it.
So I did. In three days. I don’t recommend that. This is a four-day hike, and I say that even after getting relatively lucky with the weather. If you’re even thinking about doing the Long Range Traverse, this post has what you need: how to book it, what to pack, what the trail actually looks like – and the parts no one warns you about (including worms. So many icky worms).
1. Long Range Traverse Hike Overview
How This Trail Works (and Why It’s Worth It)
Only three groups are allowed to start this hike each day with a maximum of four people per group. A solo hiker still counts as a full group. On our start day, it was just the two of us and another pair. Four people total, in the entire backcountry. It’s not crowded because it’s not allowed to be.
The trail itself is wild. You’re dropped off by boat at the far end of Western Brook Pond, then left to navigate a raw, backcountry route with no signage or trail markers. You pass through alpine meadows, boggy valleys, and windswept ridgelines – all while bushwhacking through tuckamore (thick, tangled fir and spruce) and knee-deep mud. And the bugs? They’re relentless. Black flies, mosquitoes, and worms crawling on your boots the moment you stop moving.
You carry your own food, water, shelter, and safety gear. There’s no cell service and no facilities along the way.
It’s advertised as if you’re supposed to use topographic maps and a GPS, but in reality, AllTrails works surprisingly well. With a downloaded track and a bit of common sense, route-finding isn’t the nightmare it’s made out to be – but it’s still not a groomed trail. You’re not following blazes or signs; you’re reading the landscape, and sometimes retracing your steps when the terrain throws a curveball.
Backcountry vs. Frontcountry – For Non-Canadians
If you’re not familiar with North American camping terminology, here’s a quick breakdown.
- Frontcountry: Drive-in campgrounds with bathrooms, running water, and (sometimes) a gift shop.
- Backcountry: No roads. No services. You carry everything you need – and carry everything back out.
The Long Range Traverse is very much backcountry. That means booking a permit, packing survival gear, and being ready to navigate remote terrain without support.

2. Booking the Long Range Traverse: Permits, Orientation, and Boat Drop-Off
You can’t just show up and hike the Long Range Traverse. This trip is highly regulated by Parks Canada. You need a backcountry permit, and they go fast. All permits are handled through Parks Canada, and to their credit, the system works surprisingly well once you figure out what to click.
Booking opens in late January or early February for the summer season, and each date is capped at just three groups per day (up to four people per group).
Here’s what you’ll need:
- Permit fee: $24.75 CAD per person
- Camping fee: $10.75 CAD per person, per night
When registering through the Parks Canada website, make sure you’re selecting Long Range Traverse under the backcountry options – not the day hike or front country campsites. The system is a bit clunky, but it works once you know what to click.
New to Canada? First-year residents are eligible for a free entry to national parks (though not permits or camping fees, but hey – one less fee).
Mandatory Orientation: What To Expect Why It Matters
The orientation takes place at 2:00 p.m. the day before your hike, at the Parks Canada Visitor Centre in Rocky Harbour. You can’t skip it. If you don’t show up, you don’t get to hike.
Before we went, I read online that the staff try to scare you out of doing the trail. I don’t think that’s true. They don’t downplay the risks. It’s more like: here’s what could go wrong, and here’s how to not be an idiot about it.
In our experience, they were just genuinely excited that people were doing this hike.
During the orientation:
- A Parks staff member gives a 30-minute presentation covering the route, common mistakes, and what to do if things go south.
- You’re issued a tracking tag and permit, which you return at the end. If you don’t check back in within 36 hours of your expected finish time, they start a search and rescue. (That’s a helicopter, by the way. Expensive.)
- You’re expected to carry a satellite communication device (like a Garmin, InReach or Zoleo). If you don’t have one, they’ll lend you one for free.
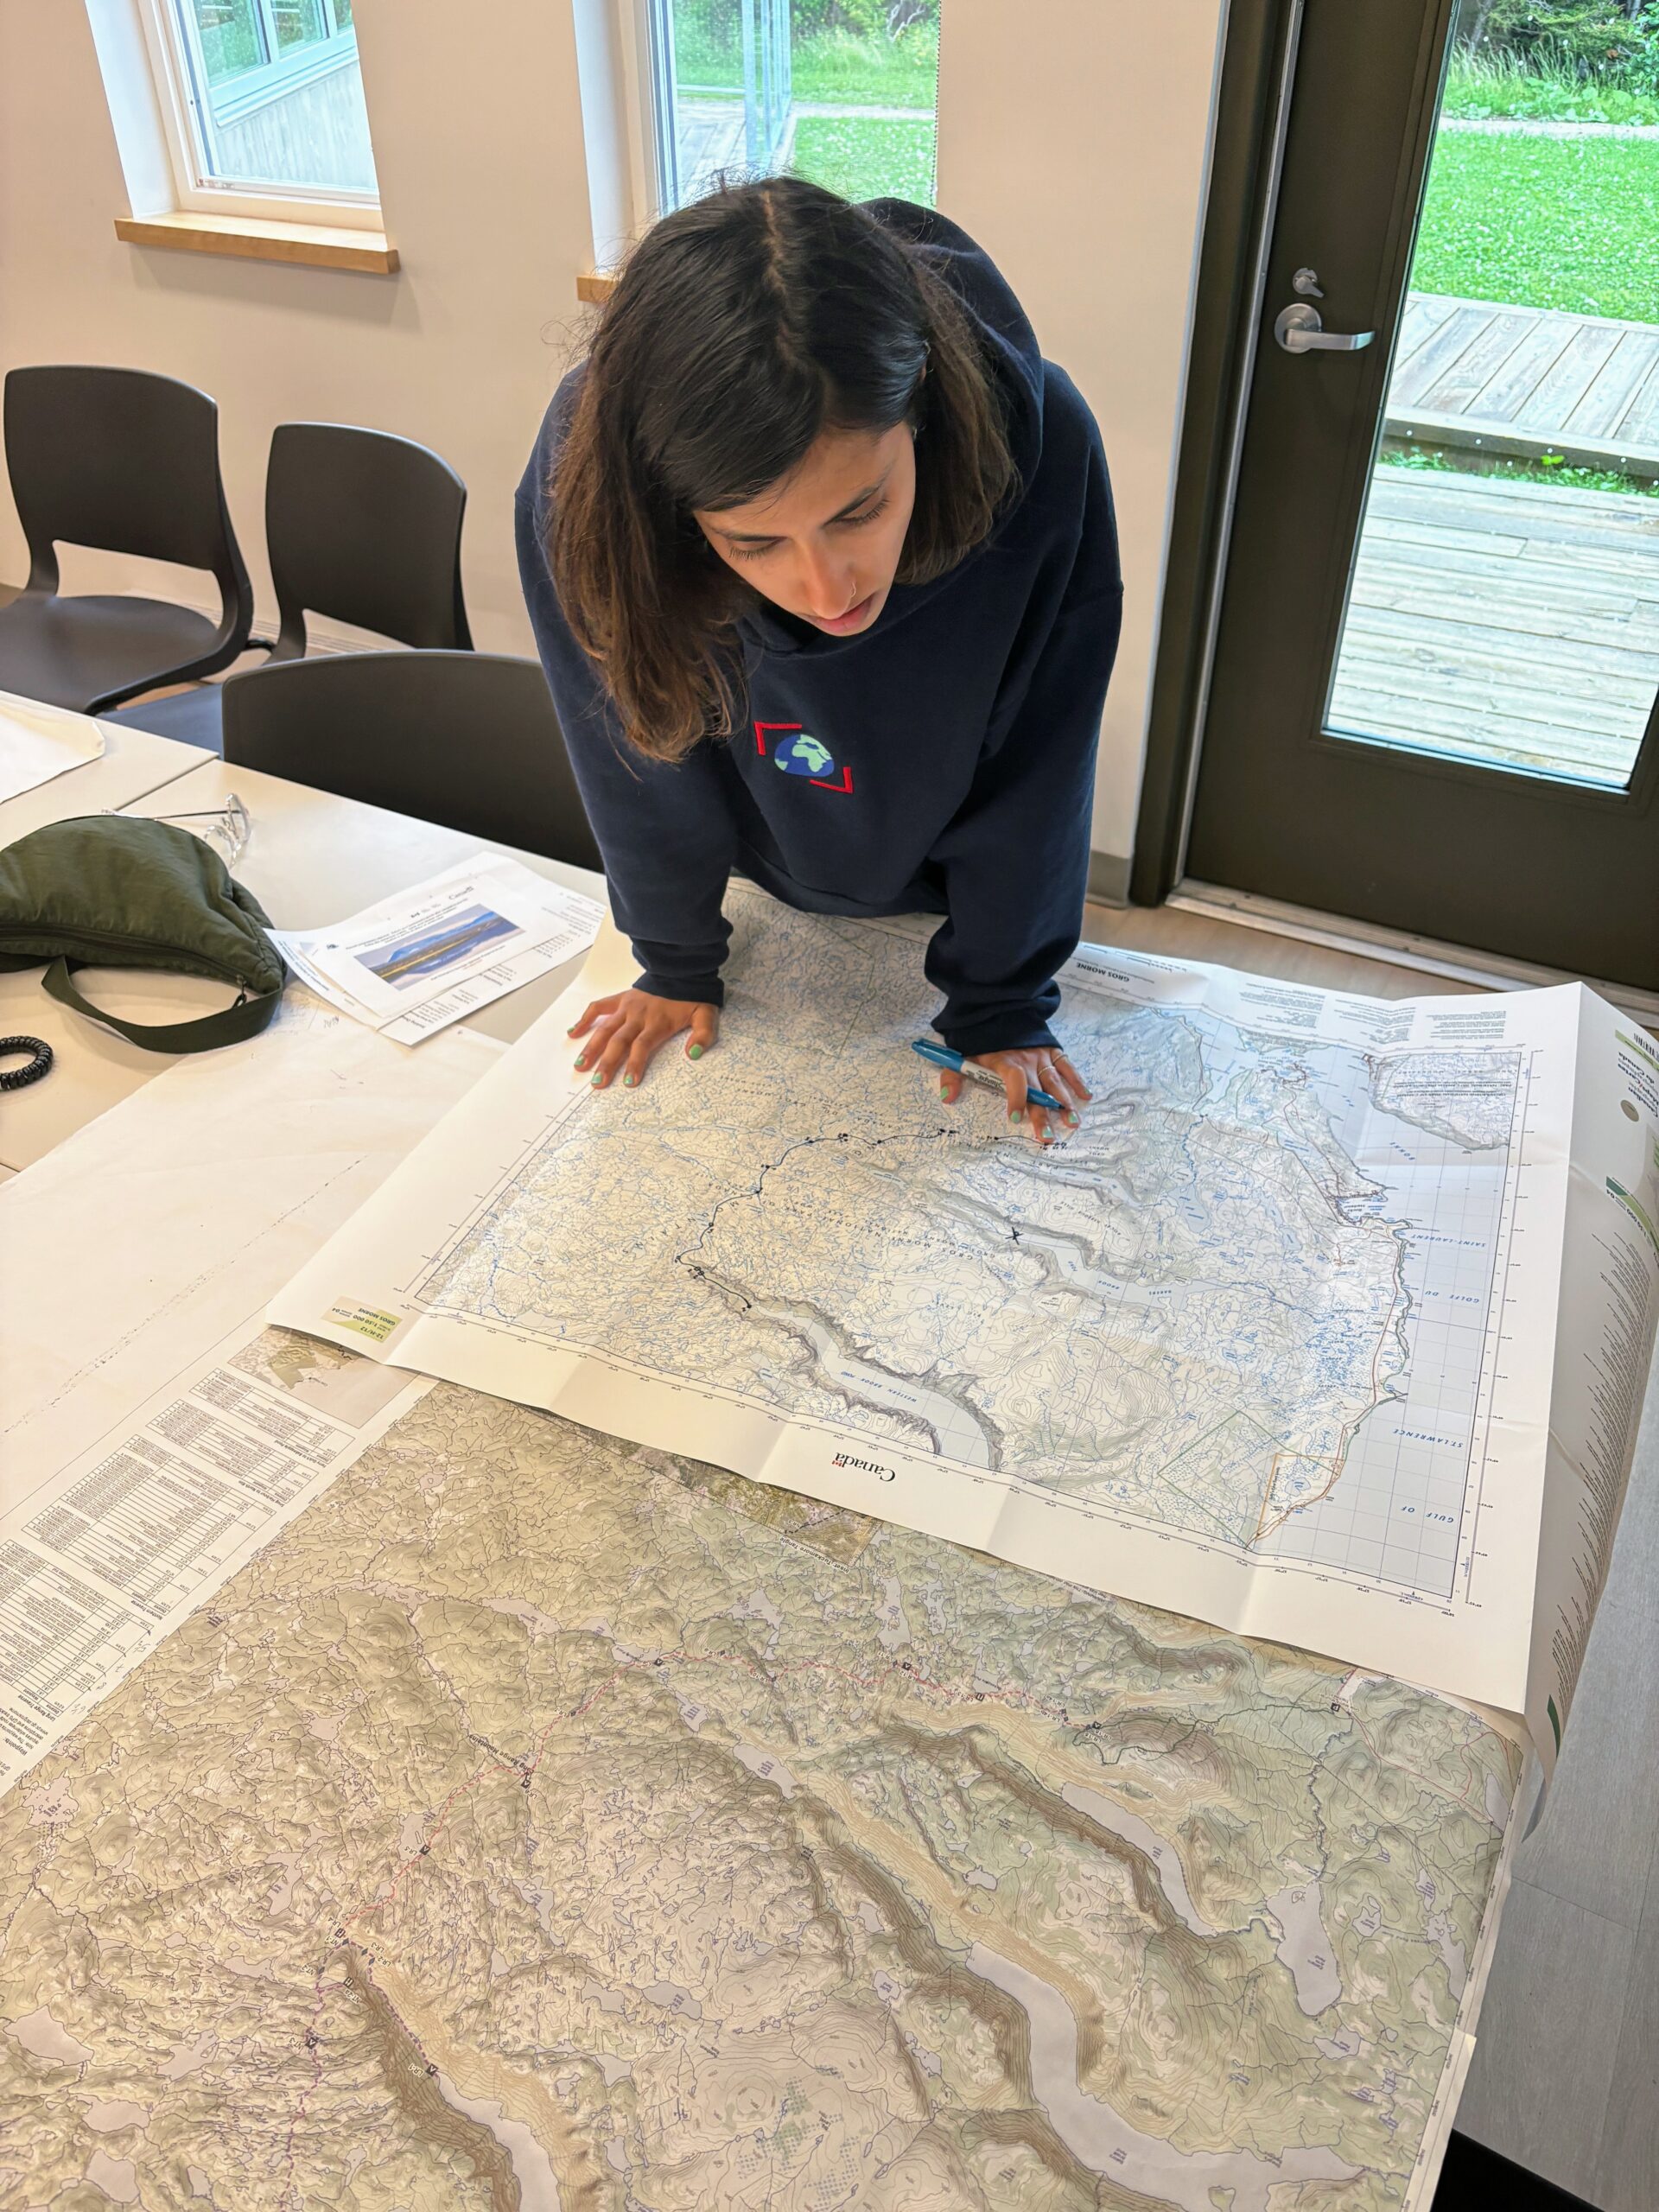
- You can buy a topographic map for $35 CAD. It’s waterproof, oversized, and we never used it but it’s nice to have as a backup in case your GPS dies.
It’s a quick process, but it sets the tone for the hike: remote, self-reliant, and taken seriously – for good reason.

Booking the Boat: How to Get to the Trailhead
The only way to start the Long Range Traverse is by boat – across Western Brook Pond.
You’ll need to book a one-way “Long-Range Traverse Drop Off” ticket with BonTours, a private company that operates the scenic boat tours. This is not included in your Parks Canada reservation, and yes, it’s a bit of a process.
From the Western Brook Pond parking lot, it’s about a 45-minute walk to the dock. If that sounds like too much with a loaded backpack (it did to me), you can pay a small fee to hop on one of their golf cart shuttles.
Once on board, you’ll sit among tourists doing the day cruise – and then, at the far end of the fjord, you’re the only ones who get off. The rest of the boat waves goodbye and wishes you luck like you’re heading off to war. It’s kind of epic.
How to Book the Boat:
- Company: BonTours
- Ticket Type: Choose “Hiker Drop-Off” when booking
- Departure Time: Usually 10:00 a.m. — confirm this when booking
- Cost: $50 CAD + HST (in 2025) per person, one way
- Tip: You need to book this separately from your Parks Canada permit
Other Ways to Access the Trailhead at Western Brook (if you’re not doing the long range traverse (LRT)
If you’re not doing the full hike independently, there are two other options worth knowing about:
Guided Day Hike
BonTours offers a one-day guided hike to the famous Western Brook Pond lookout. It’s fast-paced, uses a smaller boat, and doesn’t go beyond the viewpoint, so you’re not doing the full traverse. Great if you want a taste of the terrain without committing to a multi-day backcountry trip. Also quite pricey ($89 + HST)
Multi-Day Guided Traverse
If you’re new to backpacking or nervous about navigation, some operators offer a guided version of the full Long Range Traverse. It’s more expensive, but includes gear, meals, and navigation support.
One Note on Logistics:
We had family doing both the guided hike. For it they had filled out forms to let Bon Tours know, but the day of the hike, the operator refused to let one of the registered kids board the boat because they didn’t have a child-sized life jacket. I thought that was extremely unprofessional, charging someone so much, making them get there at 7am and then telling them they can’t go. And this is the only operator allowed in the park.

4. Planning Your Trip to Gros Morne National Park
Getting to Newfoundland
You can fly into St. John’s or Deer Lake. Flights into St. John’s were cheaper for us, but the drive from there to Gros Morne takes about 7–8 hours. If you go via Deer Lake, it’s shorter (≈ 1 hour) to the park, just expect higher airfare or fewer flight options.
Getting to the Trailhead & Parking
Where to Stay Before & After
Before the hike:
We stayed in Cormack the night before — it’s about 45 minutes from Western Brook Pond. Doable, but not ideal. If I were doing it again, I’d stay in Rocky Harbour or Norris Point instead. It’s closer, prettier, and you’ll have more options.
After the hike:
We meant to stay in Deer Lake, but we only decided that after finishing the hike and everything was booked. I do not exaggerate, I went through all booking platforms, called all motels but no space. We ended up driving two hours, dead tired, just to find a bed before our flight the next morning. Wouldn’t recommend that.
If you’re flying out of Deer Lake, stay there. Just book ahead – even basic motels fill up in peak season. A few places that looked good (I couldn’t find them on booking.com, so you can book directly).
5. The Hike, Day by Day
Long Range Traverse: How to Think About Your Itinerary
Before the hike, we had a rough idea of where we wanted to be each night. Our plan was to aim for campsites with wooden platforms – they’re flat, dry, and easier to manage after a long day.
We didn’t get a platform on any of the nights.
Out there, things change. Weather, terrain, daylight, and you end up making calls based on what’s in front of you. On Day 1, we thought we’d make it to LR5, but we were soaked and losing light, so we stopped early at LR4. It was the right call.
If I were doing it again, I’d take four days instead of three. Not just for comfort, but to actually enjoy the trail and increase your chances of getting the good campsites. Some sites are just better than others, and knowing what to expect at each one helps.
Campsite Facilities Overview
Knowing where to expect wooden platforms, bear boxes, and dry ground can really help with planning. Here’s what each designated Long Range Traverse campsite offers:
| Campsite (LR) | Name | Platforms | Bear Box | Tent Space | My Take |
|---|---|---|---|---|---|
| LR1 | Western Brook Pond | No | Yes | No | Boat drop-off only. No camping. |
| LR4 | Little Island Pond | Yes single platform | Yes at platform | Very limited | Wet ground, platform was taken when we arrived. Would’ve preferred LR5. |
| LR5 | Marks Pond | Yes new / in progress | Yes | Good | One of the nicest lakeside spots. Would camp here again. |
| LR6 | Lower Green Island Pond | No | No | Flat, scenic | Super peaceful with a small beach. Great lunch stop or 4-day option. |
| LR7 | Upper Green Island Pond | No | Yes | Mushy, mixed | We camped here. Not ideal — hard to find dry ground. |
| LR8 | Harding’s Pond | Yes | Yes | Exposed | Windy but has platforms. Works if the weather plays nice. |
| LR10 | Ferry Gulch | Yes | Yes | Solid | Shared with Gros Morne summit hikers. Busy but comfortable. |
Day 1: Western Brook Pond to Little Island Pond (LR4)
The Boat Ride & Trailhead
Our day began with the hiker boat drop-off across Western Brook Pond – a 1-hour scenic ride alongside tourists taking the sightseeing cruise. From the parking lot, it’s a 3 km walk on a gravel path to reach the dock. If you’re lazy, like us, you can catch a golf cart shuttle for $10 to spare your legs before the hike starts. There’s a small café and washrooms at the dock, your last taste of civilization.
Western Brook Pond is technically an ex-fjord. It has towering cliffs, still water – but it’s freshwater now, landlocked by tectonic shifts. The only reason it’s not called a fjord anymore is because there’s no saltwater.
The drop off from the boat is dramatic. Everyone waves and cheers you on like you’re headed to battle. Gives you a nice dopamine rush before the hike. But as the boat pulls away, something shits.
The Climb & Viewpoint
The trail begins with a narrow, shoulder-high brush corridor, which opens up into a rocky riverbed. Navigation gets tricky here. We found ourselves off-course more than once, bushwhacking to correct mistakes. Packs off. Backtracking. Re-checking GPS. It’s only the first few kilometers, but they demand attention.
And then there were the worms. No one warned us. Hundreds – crawling into your boots, on your legs, writhing on your gear if you put it down. They taper off as you gain elevation, but in the lowlands they’re unavoidable.
The ascent to the famous Western Brook Pond viewpoint gains about 400m over 2.5 km – a steep, muddy climb alongside a dry waterfall. We originally stayed to the left of the riverbed, then crossed over and found a manageable route through the trees on the right. It was walkable, but tiring.
Eventually, you reach the Western Brook Pond viewpoint — the iconic shot of the fjord stretching endlessly behind you. We sat there for nearly an hour. Snacking, breathing, soaking it in. The silence, the sheer scale, the cliff edges folding into mist. That’s why people do this hike.
From the Viewpoint to Camp
It’s another 2.5 km from the viewpoint to Little Island Pond (LR4). Our original plan was to push on to Mark’s Pond (LR5), but looking back, that was ambitious. Laughably so.
The terrain stays beautiful, you soon loose access off the fjord view, but cross more ponds (they are massive lakes, New Foundlands definition of ponds is funny.
We took a short break at the LR4 platform when we arrived – just to sit, snack, and dry out a bit. It was already claimed by the other group, but we still got to use the bear box. We set up our tent nearby on a slightly soggy patch of ground. Not ideal, but good enough.
There are trees around for food hangs if needed, but having shared access to the bear box made things easier. It drizzled briefly while we cooked dinner, but my feet were still dry — that would be the last time for the rest of the hike.


Day 2: LR4 (Little Marks Pond) to LR9
We woke up to thunder — the kind that makes you question every waterproof rating on your gear. Skipped breakfast, packed up quickly, and hit the trail into the rain.
The terrain was rough straight out of camp. We veered off course a few times — the moose and caribou trails are just as visible as the real route. Between that and the fog, GPS checks became a regular thing. We saw moose and caribou tracks, fox droppings, a few paw prints — but no actual wildlife.
Within minutes, our boots were waterlogged. The trail was pure muck, and we gave up any hope of dry feet. It was the kind of wet where you just stop caring.
Midday Break at LR6 (Marks Pond)
By mid-morning, the rain eased up just as we reached LR6 (Marks Pond). A beautiful lake, low-hanging clouds, and just enough room to sit and dry off for lunch. No platform, no bear box — though we saw construction on a new one. Still, after a chaotic morning, it felt like a proper break.
Right after lunch, we hit the first river crossing. We carefully switched into sandals to keep boots dry, which now feels hilarious in retrospect. By Day 3, we were just walking straight through rivers — wet was the default.
Later, we stopped at LR8 (Harding’s Pond) for a longer rest. The lake was calm, the views wide open. We waded in for a quick swim — the water was too cold for a full dip, but even standing waist-deep felt amazing. If we’d had an extra day, this is where I’d have stayed.
LR9 Campsite & Arctic Tern Patrol
As we crossed the meadow past Harding’s Point, we got escorted by an Arctic tern — a single bird that screamed and dive-bombed us across the entire clearing. Weirdly aggressive. Weirdly memorable.
By evening, we made it to LR9. It’s a bit of a rough site — wedged between two lakes, with few good tent spots. The ground was wet, and there wasn’t much cover. No bear box, and hardly any trees for a proper hang. But we were comfortable enough. Bear sightings in Gros Morne are extremely rare (mostly black bears, who avoid humans), so we put our food in dry backs and placed it 50m away.
This trail results in less progress than we’re used to. The distances might not look intimidating on paper, but between the mud, route-finding, and constant elevation change, the effort required is real. A 10 km day here feels more like 20.


Day 3: LR9 to the Gros Morne Trailhead
Climbing Out of LR9 and Into the Meadows
We woke up to sun — actual sun. After days of clouds and rain, it felt surreal. Everything was still damp, but we packed up early and started climbing. The ascent out of LR9 leads into open alpine meadows, one of the highest points of the whole route.
Behind us were layers of lakes and valleys we’d already crossed. Up ahead, Gros Morne Mountain finally peeked through the clouds. We even saw two moose — distant, calm, just watching us. A brief, quiet moment before everything changed.
Green Island Pond to Ferry Gulch (Thunder, Rain, and Rivers)
The calm didn’t last. Clouds rolled in, fast. Then thunder. Then rain — the kind that makes your jacket feel like a sponge. It didn’t let up for the rest of the day.
We reached Green Island Pond as the storm really started. The river crossing here was the biggest of the trek — waist-deep in spots, and fully unavoidable. Already soaked, we walked straight in with our boots on. That was the moment I accepted I would be wet for the rest of the day.
The next section was relentless. Constant ups and downs. No flat ground, no real shelter. We didn’t stop for long just quick snacks under our hoods. Our energy was low, and the trail felt endless.
Eventually, we reached Ferry Gulch the point where the GPS track ends and the groomed trail begins. You could add Gros Morne Mountain summit here, but not in this weather, not in this state. We took a short break at the picnic tables, changed socks (which were wet again within minutes), and started the final push.
The Lie of the “4km” Sign
From Ferry Gulch, the trail down is technically a well-maintained switchback — gravel, wide, and easy to follow. But at this point, every step was a slog. Then we saw the sign: 4km to the trailhead.
That sign is a lie. It’s at least 5.5 km. Maybe 6. Mentally, it was the hardest part of the day. No snacks left, no water, and soaked to the core, I just kept walking. When the parking lot finally appeared, I nearly cried. The sight of our rental car felt unreal.
I’ve never been so happy to see a gravel lot and a trunk full of dry clothes.

Tips & Advice from the Trail
Don’t Rush It
I did the Long Range Traverse in three days. I don’t recommend that. It’s doable, but it squeezes the fun out of the hike. Four days gives you breathing room, better odds at dry platforms, and enough time to actually enjoy where you are instead of always pushing to the next site.
Wet Feet Are Part of the Deal
No amount of socks or Gore-Tex will save you here. Between bogs, rain, and river crossings, your boots will be soaked. I carried extra socks and rotated them, but by Day 2 my feet were permanently squishing with every step. Gaiters helped sometimes, but really the only option is to accept it.
Wildlife: Expect Moose, Not Bears
We saw plenty of tracks — moose, caribou, fox — but only spotted two moose in three days. Black bears do live in Gros Morne, but sightings are rare, and they avoid people. Most campsites have bear boxes, but a couple don’t. We hung food where we could, but honestly I was never too worried.
What is Tuckamore?
Tuckamore is Newfoundland’s dense, tangled fir and spruce — like a wall of branches fused together. On the Traverse, you’ll push through it constantly. It’s scratchy, it’s slow, and it forces you off balance with a heavy pack. I knew it was part of the hike, but I underestimated just how much it slows you down. Add that to the mud, and you start to understand why 10 km here feels like 20.
Carry a Spare Meal (and Extra Bug Spray)
We ran out of bug spray. That’s how many bugs there were. Worms, black flies, mosquitoes – if it bites or crawls, it’s there. I’d also recommend carrying an extra meal in case you’re delayed by weather or have to stop early. When you’re soaked, tired, and hungry, the comfort of knowing you have backup food goes a long way.


Packing for the Long Range Traverse
Here are some of the essentials:
⛺️ I’ve put together my full backpacking gear list here if you want to see everything I carry. You can also browse it all in my Amazon storefront.
That’s the Long Range Traverse. Would I do it again? Absolutely. Would I do it differently? Definitely. I’d spread it out over four days, bring better rain gear, and maybe stash an extra snack or two.
But even soaked, exhausted, and covered in mud – it’s one of the best hikes I’ve ever done.