If you’ve ever wondered what it’s like to stand in the shadow of Nanga Parbat’s Rupal Face, this guide has you covered. I’ll walk through the trail, where to camp, what to pack, and how to prepare for one of the most rewarding treks in Pakistan.
For years, I’d seen Nanga Parbat from a distance, always thinking, “Someday, I’m going to make that trek.” When I finally did, it didn’t disappoint. Reaching the first base camp and seeing the Rupal Face towering above was one of those rare moments that just got me. I might’ve even cried. (Don’t judge.)
About Nanga Parbat
Nanga Parbat, often called the “Killer Mountain,” is the ninth highest mountain in the world and second only to K2 in Pakistan. Standing at 8,126 meters, it earns its fearsome reputation by claiming the lives of 24 out of every 100 successful summiteers. Nanga Parbat is not just one peak; it spans a 20-kilometer series of peaks and ridges, culminating in an ice crest.
Located in the Gilgit-Baltistan region, Nanga Parbat is part of the Himalayan range and is known locally as ‘Deo Mir,’ meaning ‘Huge Mountain.’ While Pakistan’s other famous peaks are found in the Karakoram range, Nanga Parbat stands alone in its towering majesty as part of the Himalayas, making it a unique challenge for climbers and trekkers alike.
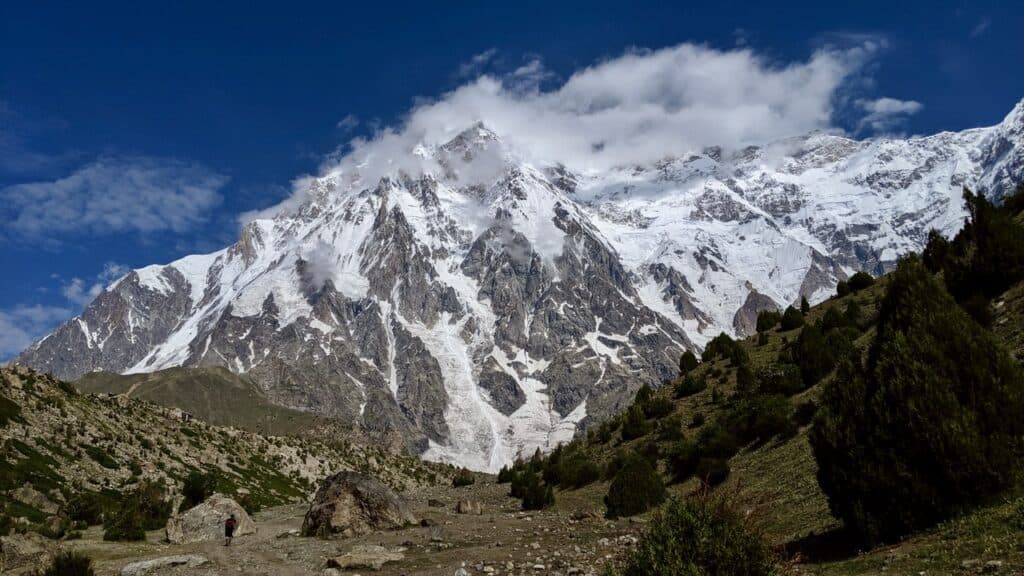
What is the Rupal Face of Nanga Parbat?
When climbing Nanga Parbat, there are three main base camps to choose from. The Rakhiot Base Camp on the northern side, known for the popular Fairy Meadows; the Diamir Base Camp on the western side, which is the starting point for many climbers on the Kinshofer route; and the Southside Base Camp, or Herligkoffer Base Camp, located at the foot of the mighty Rupal Face.
The Rupal Face is the world’s largest rock wall, rising an astonishing 4,600 meters from base to summit and stretching over 15 kilometers in length. It’s a challenging, yet highly rewarding trek. The Southside Base Camp Trek, through the breathtaking Rupal Valley, covers around 30 kilometers of rugged terrain. While tough, this trek is suitable for adventurers with basic trekking experience. The Southside route offers dramatic landscapes, including glaciers, gorges, and towering peaks. It’s an unforgettable journey, one that allows you to witness the raw beauty of the world’s ninth highest peak up close.
How to Get There
Here’s the part where things get a little tricky—but worth it, I promise.
To get to the starting point of your Southside Nanga Parbat Base Camp trek, you’ll need to fly into Islamabad. Now, you’ve got two options:
- By Air: If you’re feeling fancy (or just want to save some time), book a domestic flight from Islamabad to Skardu. The flight is short, only about an hour, but let me warn you—Skardu flights are notorious for delays due to weather. If you get lucky, though, you’ll have the most breathtaking views of the Karakoram, the Himalayas, and maybe even Nanga Parbat itself from the plane window. It’s not a bad consolation for a rocky landing.
- By Road: If you’re not in a rush, driving from Islamabad to Astore is an option. But buckle up, because this is a 15-hour journey through some of the most rugged terrain you’ll ever see. The road itself is an adventure—bumpy, narrow, but insanely scenic. If you can handle the long drive (and the questionable state of some of those mountain roads), it’s one for the books. Once in Astore, you’ll need to hire a jeep to take you to Tarashing, the starting point of the trek, which is another 2-hour off-road journey. Let’s just say, by the time you get to Tarashing, you’ll have earned that first step on the trail.
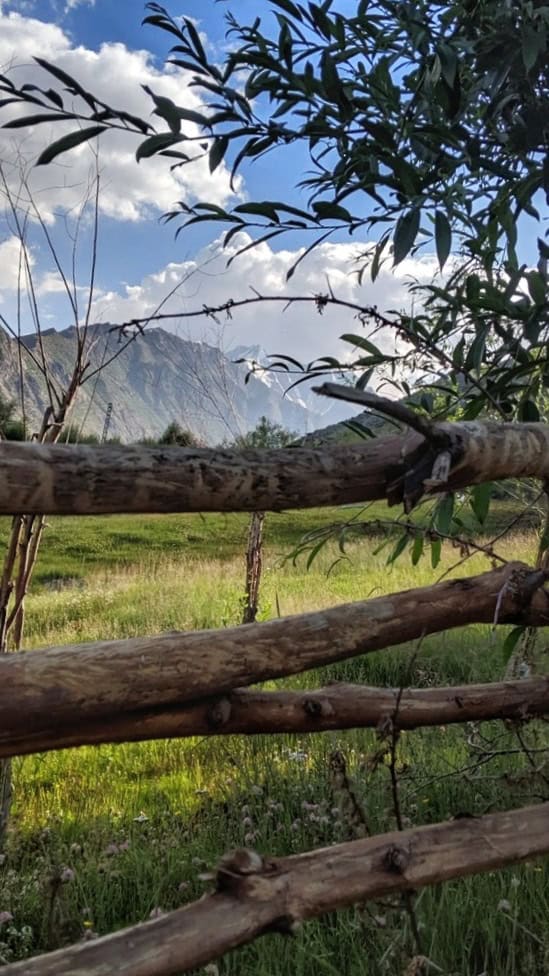
Hiking Statistics
| Trek Distance | 26 kilometers |
|---|---|
| Duration | 4 days (can be done in 3 days with prior experience) |
| Max Elevation | 3,550 meters |
| Min Elevation | 2,911 meters |
| Guide | Highly recommended for safety and navigation |
| Accommodation | Tent camping throughout the trek |
| WiFi/Signal Availability | Limited or nonexistent along the trek |
Nanga Parbat Rupal Face Basecamp Step-By-Step Trail Guide
H3 Day 1: Astore to Tarashing
Whether you fly to Skardu or take the long drive up north, the journey starts with renting a jeep from Astore to Tarashing—a small village that marks the beginning of your trek. The 31-kilometer drive takes around two hours. Once you reach Tarashing, you can take the rest of the day to settle in and acclimatize. It’s a quiet spot, with the towering mountains reminding you of the adventure ahead.
Day 2: Tarashing to Herligkoffer – 10 km, ⬆ 639 m
Day two is where the real trekking begins. Starting from Tarashing, you’ll follow the trail along the Tarashing Glacier. It’s a gradual climb through the Rupal Valley, and although the ascent is steady, it won’t wear you out. After trekking for about 5-6 hours, you’ll arrive at camp 2, Herligkoffer Base Camp, which sits at 3,550 meters. This campsite is named after Karl Herligkoffer, a German mountaineer famous for his Nanga Parbat expeditions. The views here make you realize just how close you’re getting to the heart of this giant mountain.
Day 3: Herligkoffer to Latobah – 3 km, ⬇ 20 m
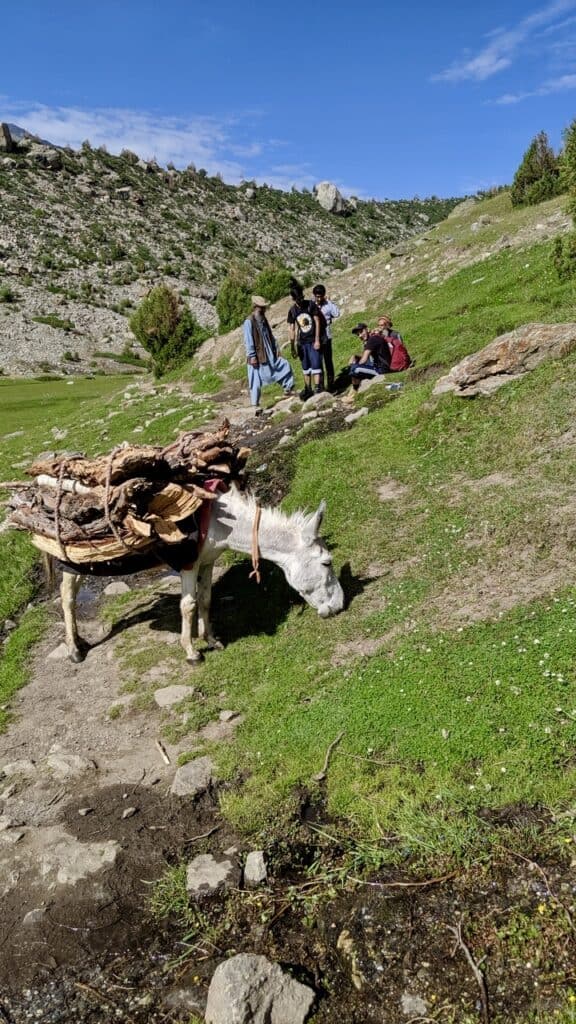
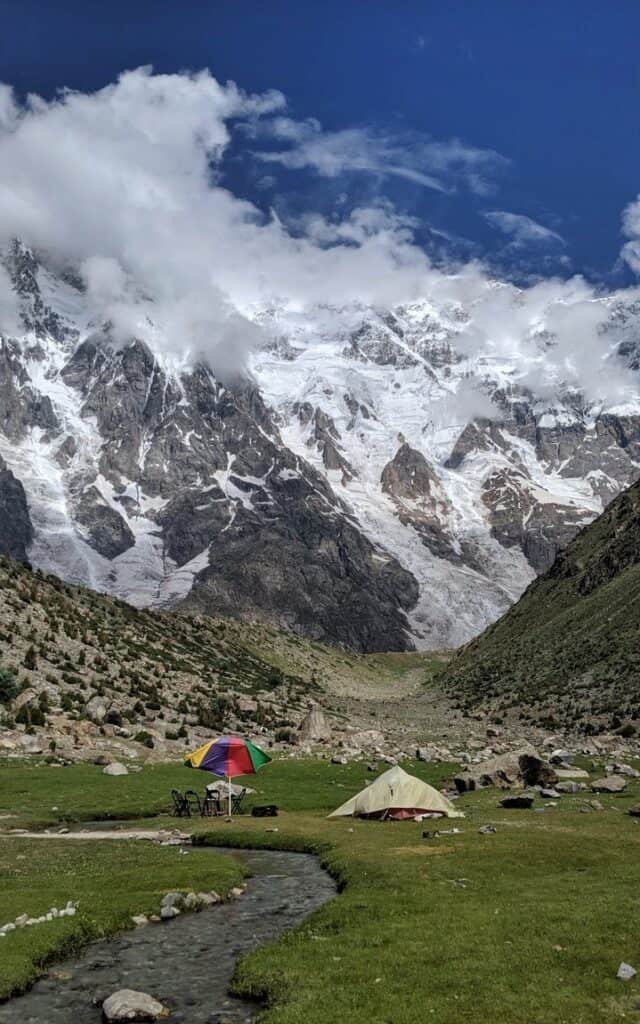
The trek from Herligkoffer to Latobah on day three is a shorter one, but don’t let the distance fool you—it still requires some focus. You’ll be crossing the Bazhin Glacier, where the trail becomes rockier and more challenging. After about 3-4 hours, you’ll reach camp 3 at Latobah, a meadow where local herders often bring their livestock. It’s a peaceful spot, and you can feel the imposing presence of Nanga Parbat looming above.
Day 4: Latobah to Tarashing
The final day brings you back down the same path to Tarashing. Although descending is easier on the legs, you’ll still want to take it slow and steady. By the time you make it back to Tarashing, you’ll likely be exhausted but also filled with a sense of accomplishment from completing one of the most memorable treks of your life.
Option to Extend Your Trip!
If you’re not quite ready to leave the mountains just yet, there are a couple of ways to extend your trek:
- Day 6: Latobah to Shigiari – A two-hour trek from Latobah leads you to Shigiari, where you can camp right at the foot of Nanga Parbat.
- Day 7: Latobah to Mazeno Base Camp – For those looking for more of a challenge, you can continue trekking to Mazeno Base Camp, adding more time to explore the less-visited side of the mountain.
Afterward, you can head back to Latobah and then return to Tarashing to complete your journey.
Hiring a Guide
Most epic treks in Pakistan, including this one, really benefit from having a guide—routes here are often unmarked, and unless you know the terrain well, it’s easy to get off track. A local guide knows the landscape, any seasonal trail changes, and can help steer you clear of potentially risky areas. In case of an emergency, a guide can be the difference between a mishap and a safe outcome.
If you need help setting up your trek to the Southside Nanga Parbat Base Camp, feel free to reach out—I can put you in touch with reliable guides who know the region well. And remember, aside from guiding you along the route, they’ll ensure you stay hydrated, acclimatize properly, and have all the essential items to handle Nanga Parbat’s unpredictable weather.
What to Bring on the Hike
Packing the right gear can make or break your experience on any trek, I learned that the hard way. This isn’t just about comfort; it’s about being well-prepared for everything the mountain might throw at you. Here are some essentials to bring along:
Hiking boots – My Lowa hiking boots have been with me since 2013 and are still one of my best investments for long treks.
Warm layers
Waterproof jacket and pants – Essential for sudden weather changes.
Sun hat and sunglasses – The mountain sun is intense, even in cooler weather.
Trekking poles – Useful for steep sections and rocky terrain.
Backpack
Sleeping bag and mat – Nights can be quite cold, so a good-quality sleeping bag is essential.
Water bottles or hydration system – Staying hydrated is key, especially at altitude.
Headlamp with extra batteries – For early starts or late finishes.
Toiletries – Bring toilet paper, wet wipes, and hand sanitizer.
Basic first aid kit – Include any medications you might need, especially for altitude sickness.
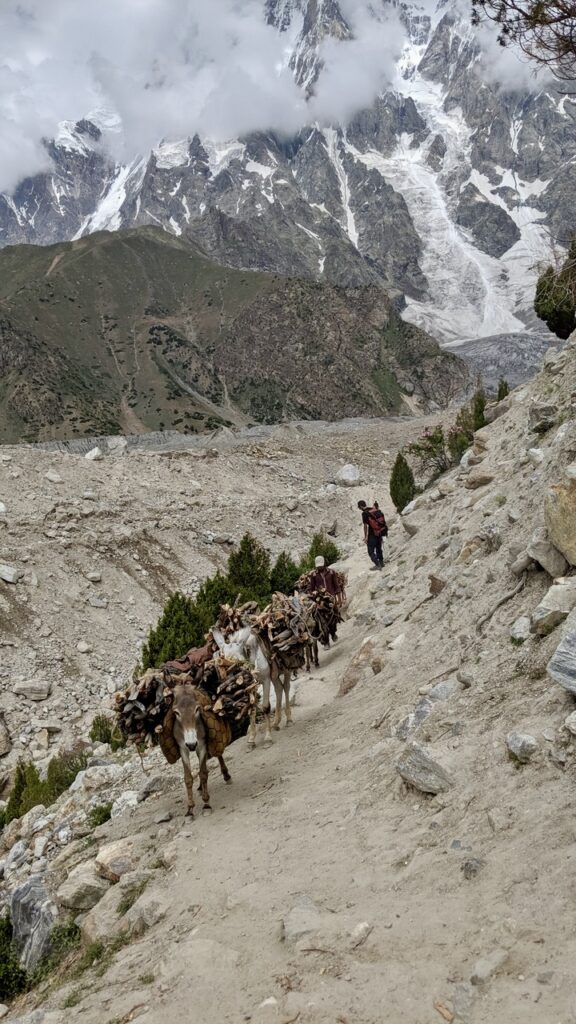
Pack smart and only bring what you truly need. Consider using a waterproof bag or cover to protect your belongings in case of unexpected rain or snow. You can carry your own gear, or if you’d prefer to travel lighter, hire a porter to help.
Accommodation Options
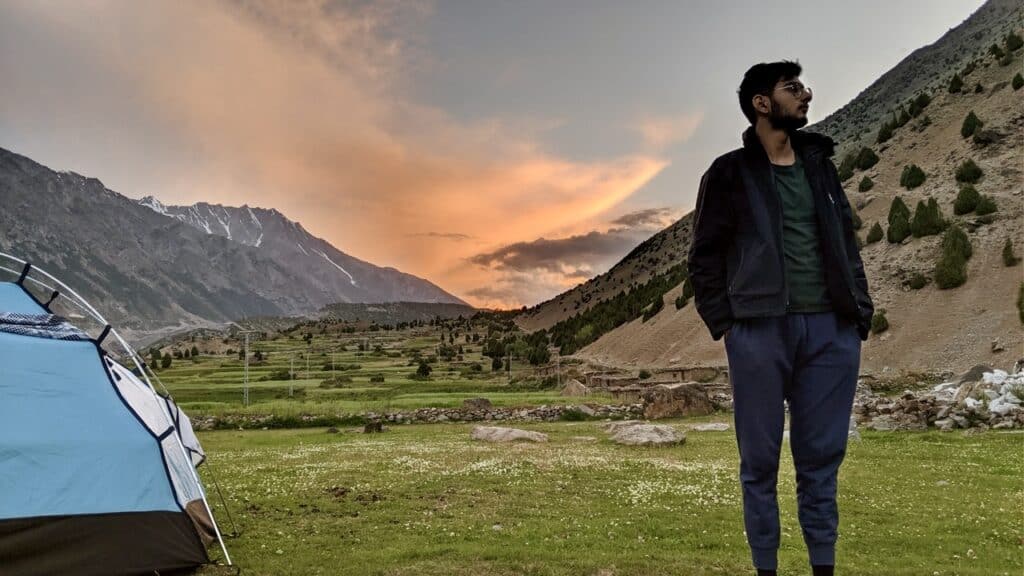
This trek is a camping experience through and through, so you’ll need to bring all your camping equipment, including a tent, sleeping bag, mat, and any cooking gear you might require. If you’re with an organized tour, they typically cover all equipment, making it one less thing to worry about. Campsites are available along the route, giving you the chance to immerse yourself in the natural beauty around Nanga Parbat.
For the nights before and after the trek, you can find guest houses in Astore, I’ve personally never stayed in any so I can’t recommend them to you.
In Gilgit, Serena Hotel is my favourite for every time I am in the city.
If you’re planning a longer stay, consider spending a few extra days in Hunza or Skardu—both have incredible landscapes and are well worth a visit.
Alternatives to the Southside Basecamp
One popular alternative to the Southside Nanga Parbat Base Camp is the Fairy Meadows trek, which brings you to the northern side of the mountain. Also known as Raikot face, it plunges from the summit to the Indus forming one of the deepest gorges in the world.
Fairy Meadows is known for its beautiful, grassy meadows with a direct view of Nanga Parbat’s north face, making it a favorite among trekkers who prefer a less challenging route. This trek is easier and shorter, accessible with a jeep ride from Raikot Bridge up a steep, narrow road to Tato Village. From there, it’s around a 2-3 hour hike to reach Fairy Meadows.
While Fairy Meadows offers spectacular views, it’s much more crowded, especially during peak trekking season. The area has become popular on social media, so it tends to attract larger groups of tourists looking for a scenic, accessible experience rather than a rigorous trek. If you’re after solitude and a more challenging route, the Southside Base Camp trek will offer a more rewarding experience.
For another epic trek to do in Pakistan, check out Khun Meadows!
Frequently Asked Questions
Is the Southside Nanga Parbat Base Camp Trek suitable for beginners?
The Southside Nanga Parbat Base Camp Trek is moderately challenging and best suited for experienced hikers or those with a high level of fitness. The route includes steep climbs, rocky paths, and varying weather conditions, so prior trekking experience is recommended.
Can I go on the Southside Nanga Parbat Base Camp Trek solo?
While solo trekking is possible, it’s strongly recommended to go with a guide or join a trekking group. A guide offers valuable expertise, ensures safety, and enhances the overall experience of the trek.
Are there restroom facilities along the Southside Nanga Parbat Base Camp Trek?
Restroom facilities are minimal along the trek. Since you’ll be camping, most stops have basic, outdoor setups. It’s advised to carry personal supplies like toilet paper, wet wipes, and hand sanitizer.
How can I book a guided trek for the Southside Nanga Parbat Base Camp Trek?
To book a guided trek, research and select a reliable trekking agency that matches your needs and budget. Numerous agencies offer guided treks, and booking in advance is highly recommended.
